


Tools and Equipment:
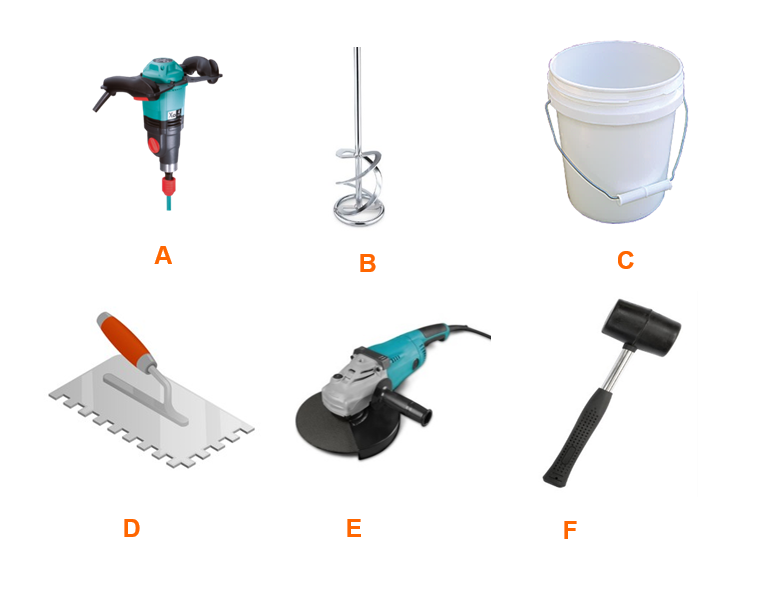
Equipment
A: Mixing drill
B: Mixing paddle
C: Empty bucket (25 ltr)
D: Notched trowel
E: Hand-held grinder
F: Rubber hammer
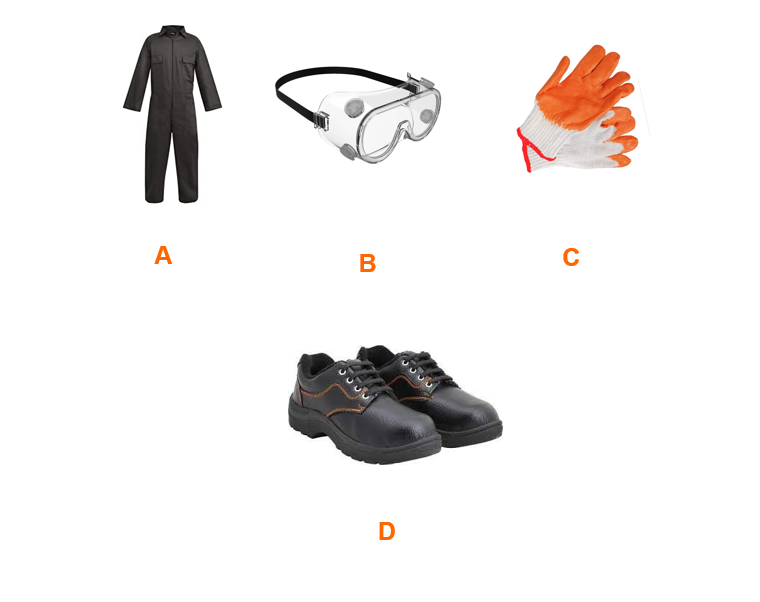
Personal protection
A: Protective overalls
B: Goggles or a face mask
C: Good quality gloves
D: Safety shoes
1-Substrate Preparation
- The substrate should be sound, clean and free from dust, oil, grease, paints or any contamination. Surface laitance should be removed by grit blasting or scrabbling.
- Newly poured Concrete and cement based substrates must be sufficiently cured and dimensionally stable. Allow time for shrinkage and structural strain movements.
- Repair any damages, cracks and honeycombing with the appropriate DCP concrete repair system and leave the areas for 48 hours before tiling. .
- Provide a flat, smooth surface and remove any irregularity, flaky or peeling layers using a hand-held grinder.
- To fix tiles on highly absorbent surfaces, it is recommended to apply diluted Keybond 2000 with water at a ratio of 1:2 by volume before tiling in order to increase the bonding property and also to prevent water from the adhesive seeping into the substrates.
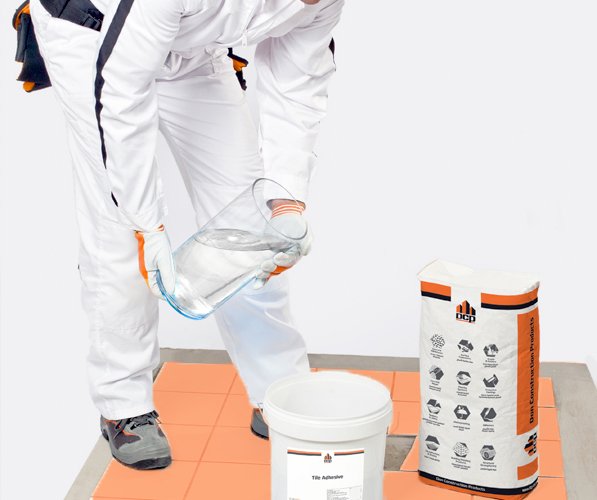
2-Mixing
- Place the mixing water into a clean container, add the dry powder slowly to the water while mixing continuously with low speed mixer/drill (400 – 600 rpm).
- Mix for 3 minutes until uniform consistency and a lump free mixture is obtained then allow the mix to rest for 2 - 3 minutes, then remix for an additional 1 minute without adding any more water.
- Choose tile adhesive according to type of tiles and applications.
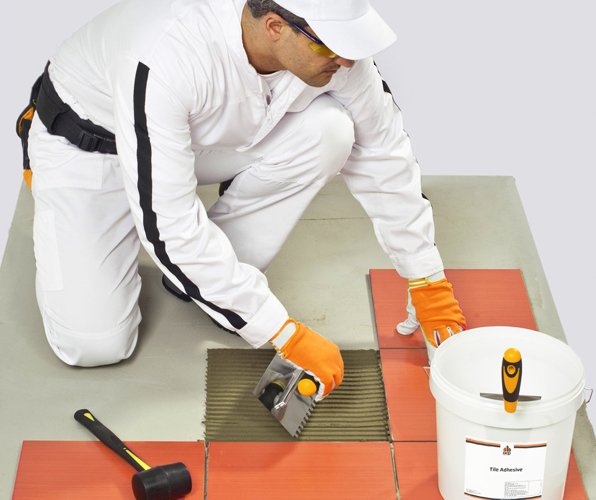
3-Application
Select the size of trowel that will give the right thickness on the back of the tile.
- Tile Area < 900 cm2: it is recommended to use a 3 mm thickness of tile adhesive this thickness can be achieved using a 6 mm X 6 mm square notched trowel.
- Tile Area between 900 cm2 and 1600 cm2: it is recommended to use a 4 mm thickness of tile adhesive this thickness can be achieved using 8 mm X 8 mm square notched trowel.
- Tile Area > 1600 cm2: it is recommended to use a 5 mm thickness of tile adhesive, this thickness can be achieved using a 10 mm X 10 mm square notched trowel.
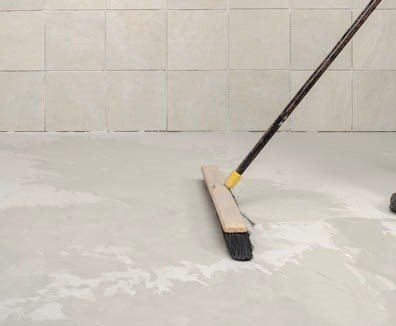
Apply the adhesive over the area that can be tiled within its open time using the flat edge of the trowel then Comb the adhesive with a suitable notched trowel horizontally to achieve the required bed thickness
Place and align the tiles in a twisting motion with firm pressure to ensure proper contact with the adhesive.
Leave appropriate clearance for joints grouting and make any adjustments within the products’ open time.
Provide sufficient movement joints among the tiled surface to eliminate stresses and allow for slight movements
4- Cleaning
All tools should be cleaned immediately after finishing using clean water. Hardened materials should be cleaned mechanically.

Hints for Application
- Unmixed materials and equipment should be stored in a cool shaded area and away from direct sunlight.
- It is recommended to use tap water with temperature not exceeding 25oC
- Avoid applying the adhesive if the temperature is around 5oC and falling or above 32 oC and rising.
- For large tiles, it is recommended to apply the tile adhesive on both the substrate and the back of the tile
- For large format and heavy tiles where the weight of the tiles cannot be supported by the adhesive, the installation method shall follow a bottom-up approach, and if more than two rows of tiles are to be fixed simultaneously, the tiles are to be mechanically supported using temporary anchor nails in between tile gaps or by using inclined support stud.
HOW TO CLEAN MOLD FROM SILICONE SEALANT?
This video explores safe and effective methods for cleaning and maintaining your sealant.


HOW FLEXIBLE IS THE DCP AS111 SEALANT?
Testing the Flexibility of DCP AS111 Silicone Sealant