Cementitious Tile Grouts

Preparation
- Ensure that the adhesive has completely dried and hardened. Adhesive should be left for 24 hours before applying the grout, unless rapid setting adhesive is used
- All tiles and joints must be clean and free from oil, grease or loose materials.
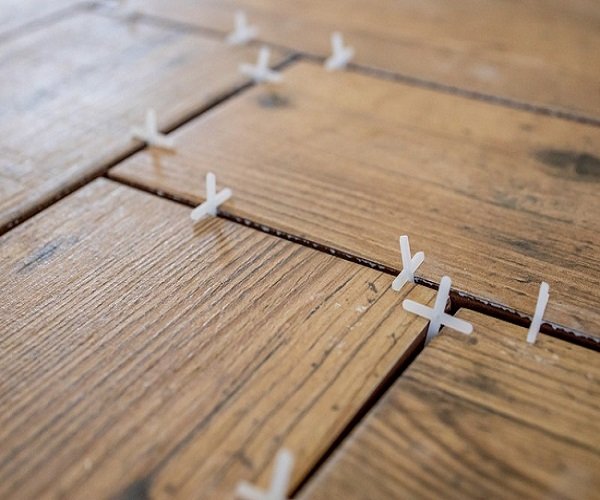
- Remove the tile spacers and ensure that the grout joints are uniform and their widths do not exceed 6 mm to avoid slumping.
Mixing
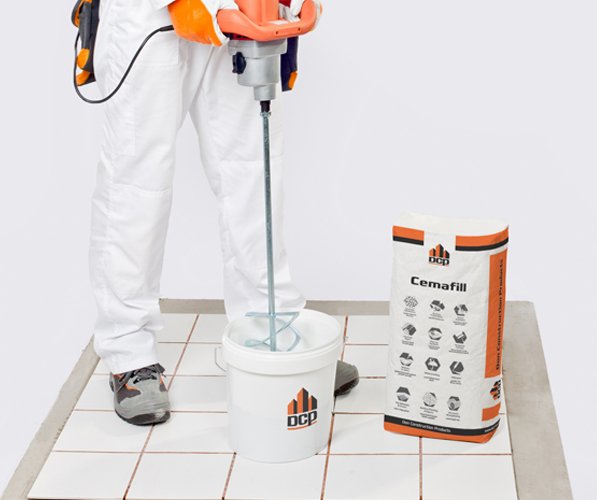
- To ensure proper mixing, a mechanically powered mixer or drill fitted with suitable paddle should be used.
- Place the mixing water into a clean container, add the dry powder slowly to the water while mixing continuously with low speed mixer/drill (400 – 600 rpm).
- Mixing time should be continued for 3 minutes until a uniform consistency and free of lumps mixture is obtained.
- Allow a slake time for 5 minutes, and then remix for additional 1 minute without adding water
Application
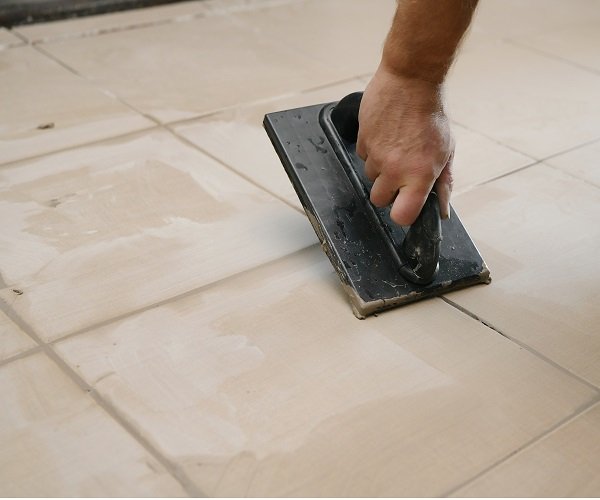
- Using appropriate spatula or rubber float, fill with pressure the joints completely with the tile grout
- Immediately remove the excess grout by moving the spatula or the edge of the rubber float diagonally to the tiles.
Cleaning
- When the grout starts to set (usually 20 - 30 minutes at normal conditions), use a damped sponge in a circular motion to remove the excess grout and level the joints.
- After drying, clean the tiles surface using a dry cloth.
- All tools should be cleaned immediately after use with fresh clean water. Hardened materials should be cleaned mechanically.

DCP Range of Cementitious Tile Grouts
Cemafill M : High performance, non-sanded cementitious tile grout for joints up to 3 mm.
Cemafill GP : Cementitious ceramic tile grout with high abrasion/resistance for joints up to 6 mm.
Cemafill W : High performance and water repellant cementitious tile grout for joints up to 8 mm in wet and submerged areas.
Cemafill Flex : Highly flexible cementitious tile grout for wide joints applications 3 to 15 mm.
Cemafill Stone : High performance cementitious tile grout and stone pointing mortar for joints up to 20 mm.